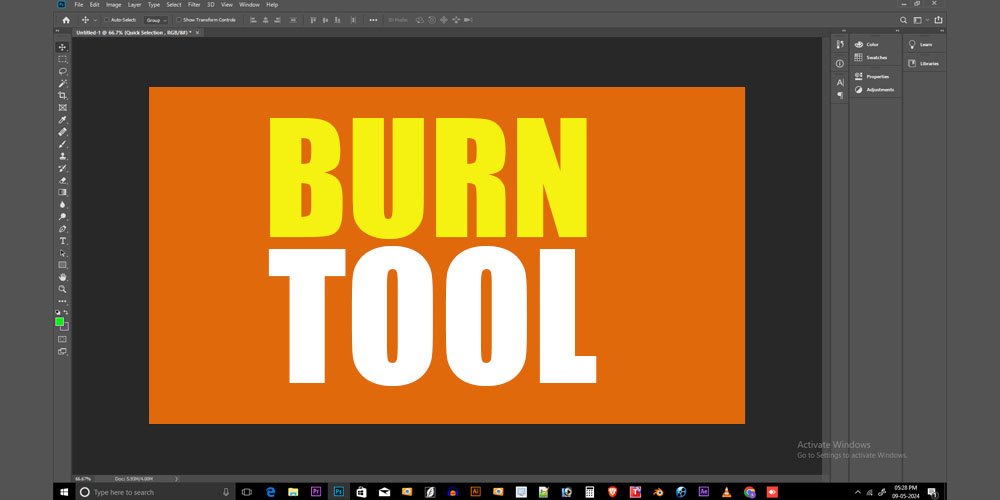
Hey there, budding photographers! Ever wondered how pros make their photos look so dramatic and eye-catching? It’s not always magic (although some editing tricks might seem like it!); it’s often the power of tools like the Burn Tool in Photoshop.
In this guide, we’ll break down everything you need to know about the Burn Tool, from its superpowers to how to use it like a champ. So select your best picture and let’s get started!
Explain the importance of the burn tool in Adobe Photoshop.
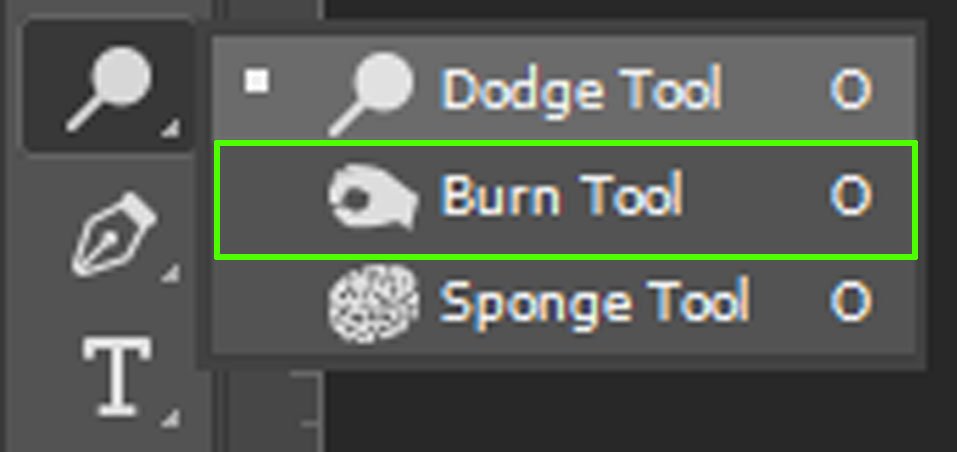
Imagine you have a spotlight in your hand, but instead of shining light, it darkens specific areas of your photo. That’s basically what the Burn Tool does! It lets you selectively darken parts of your image to add depth, define features, and create a more polished look.
Here are some cool things you can achieve with the Burn Tool:
Sculpt Faces: Want to make your subject’s cheekbones pop or define their jawline? The Burn Tool can subtly darken specific areas, creating a more sculpted look.
Bring Out Details: Sometimes, shadows can hide interesting details in your photo. By carefully burning the edges of objects, you can make them stand out more.
Enhance mood: A well-placed burn can add drama and mystery to your photo. Imagine darkening the background behind your subject to make them the center of attention.
Advantages & Disadvantages of the Burn Tool in Photoshop.
The Burn Tool is a fantastic tool, but like anything else, it has its pros and cons:
Advantages:
Precise Control: You can choose the size and strength of your brush, letting you target specific areas with great accuracy.
Subtle Adjustments: Unlike just cranking up the contrast, the Burn Tool allows for delicate darkening, keeping your edits natural-looking.
Non-Destructive Editing: The Burn Tool works on a separate layer, so you can always go back and adjust if you go overboard.
Disadvantages:
Overdoing it: It’s easy to get carried away and make your photo look muddy or unnatural. Less is definitely more with the Burn Tool!
Practice Makes Perfect: Mastering the Burn Tool takes a bit of practice. If you don’t succeed on your initial try, don’t give up.
Not a One-Trick Pony: While great, the Burn Tool works best alongside other editing techniques.
Conclusion
The Burn Tool is a powerful tool in any photographer’s arsenal, and with a little practice, you too can use it to elevate your photos. Remember, the key is to use it subtly and strategically to add depth and dimension to your images. So, fire up Photoshop, grab your virtual brush, and get ready to sculpt light and shadow like a pro!
Frequently Asked Questions
Q: Is the Burn Tool the same as the Eraser Tool?
A: No way! The Eraser Tool removes pixels entirely, while the Burn Tool just darkens them.
Q: Can’t I just use the Levels adjustment to darken my photo?
A: The Levels adjustment affects the entire image, whereas the Burn Tool lets you target specific areas.
Q: Are there any cool tutorials on using the Burn Tool?
A: Absolutely! There are tons of online tutorials that show you step-by-step how to use the Burn Tool for different effects.
Q: What are some alternative ways to achieve similar effects to the Burn Tool?
A: There are a few options:
- Dodge and Burn: Photoshop also has a Dodge Tool that works similarly, but for lighting areas. You can use them together for precise control over light and shadow.
- Layer Masks: You can create a Levels or Curves adjustment layer with a black mask. Painting white on the mask with a soft brush lets you selectively darken specific areas.
- Brush Tool (Darken Mode): The Brush Tool set to darken mode allows you to paint with a dark color to achieve a similar effect, though it might be less precise than the Burn Tool.
Q: How can I practice using the Burn Tool effectively?
A: Here are some ideas:
- Start with High-Contrast Photos: Photos with clear shadows and highlights are a good starting point to practice defining shapes and details.
- Focus on Specific Areas: Don’t try to overhaul your entire photo at once. Pick a specific area, like the subject’s face or an object in the foreground, and experiment with subtle burning.
- Use Reference Photos: Look at photos you admire and try to replicate how they use light and shadow. This can help you visualize where to use the burn tool.
Remember, practice makes perfect! The more you experiment with the Burn Tool, the more comfortable and confident you’ll become using it to enhance your photos.


