Imagine adding a gorgeous sunset sky to your photo or creating a smooth transition between two images. That’s the magic of the Gradient Tool in Adobe Photoshop CC! As a photographer, I use this tool constantly to create stunning visual effects, and the best part is that it’s surprisingly easy to learn, even for students!
Think rainbows, not stripes!
The Gradient Tool lets you create a smooth blend of colors across your image, like a mini rainbow. Instead of harsh lines between colors, you get a gradual transition, adding depth and interest to your photos. Just pick two (or more!) colors and drag the tool across your image to create the effect. It’s like adding a colorful wash with complete control!
Types of Gradient Tool in Photoshop
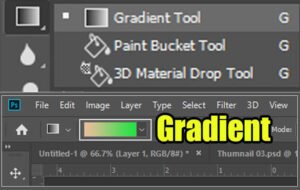
There’s more than one way to blend those colors! Here are some of the different types of gradients you can create:
Linear Gradient: This is the classic “rainbow” effect, where colors blend in a straight line. Perfect for backgrounds or adding light effects.
Radial Gradient: Imagine a spotlight! This gradient spreads colors outward from a central point, making it great for creating vignette effects or adding depth.
Reflected Gradient: Like looking in a mirror, this gradient blends colors outward from a center point but then mirrors the effect on the other side. Think symmetrical skies or metallic textures.
Diamond Gradient: This creates a diagonal color blend, useful for adding subtle lighting effects or geometric patterns.
Advantages & Disadvantages of Gradient Tool in Photoshop
Advantages:
Easy to Use: The Gradient Tool offers a simple way to create complex color effects.
Versatility: From subtle backgrounds to dramatic lighting, gradients add a variety of creative options.
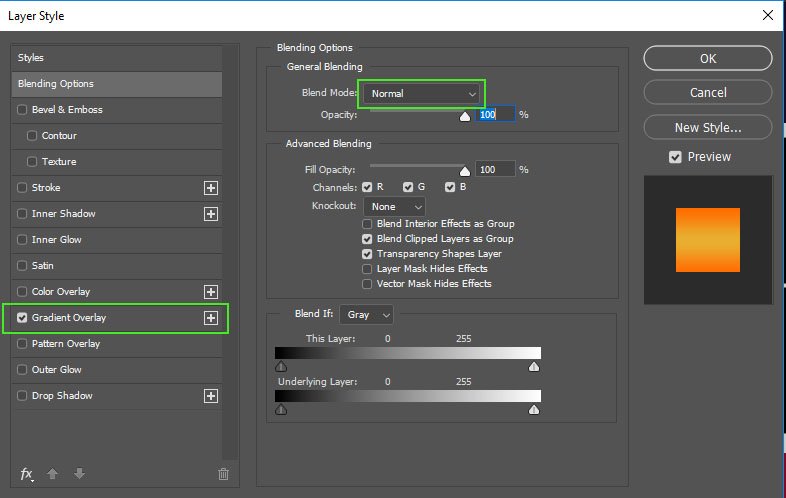
Non-destructive Editing: Like other Photoshop tools, gradients work on separate layers, so you can experiment without affecting the original image.
Disadvantages:
Limited Detail: For highly detailed effects, other tools like brushes might be more suitable.
Practice Makes Perfect: Creating smooth and natural-looking gradients takes some practice with blending and placement.
Conclusion
The Gradient Tool in Photoshop CC is a fantastic tool for adding depth, color, and visual interest to your photos. With a few simple clicks and drags, you can create stunning effects that take your images to the next level. So, grab your virtual paintbrush (well, gradient tool!), and get ready to transform your photos!
Frequently Asked Questions
Q: How can I choose the right colors for my gradient?
A: There are many online resources offering pre-made gradient color sets. You can also experiment with different color combinations to find what works best for your image.
Q: Can I edit the gradient after I create it?
A: Yes! Photoshop lets you fine-tune the colors, opacity, and even the direction of your gradient after you’ve applied it.
Q: Are there other ways to add color effects in Photoshop?
A: Absolutely! Photoshop offers a variety of tools for adjusting colors, like Hue/Saturation and selective color. However, the Gradient Tool provides a unique way to create smooth and natural-looking color transitions.
Q: My gradient looks blocky or uneven. How can I fix that?
A: This can happen if you don’t have enough “color stops” in your gradient. Color stops define where each color appears in the blend. Adding more color stops allows for smoother transitions.
Q: Can I use gradients on shapes or selections?
A: Yes! You can create a selection with tools like the Lasso Tool or Pen Tool, and then apply your gradient within that selection. This is great for adding colorful borders or backgrounds to specific elements in your image.
Q: How can I save my own custom gradients for later use?
A: Photoshop allows you to save your created gradients in the Gradient Picker. Simply click the gear icon in the Gradient Picker and choose “Save Gradient.” This lets you build your own library of favorite gradients for future projects.