Hey there, budding photographers! Ever wish you could erase that pesky red car that snuck into your perfect sunset shot? Or maybe a rogue telephone wire decided to join your majestic mountain landscape? Don’t worry, young shutterbugs, because Photoshop’s Stamp tool is here to be your photo-fixing hero!
Think of the Stamp tool as a magic copy-and-paste function for your photos. It lets you borrow pixels (the tiny building blocks that make up your image) from one area and use them to “stamp” over unwanted objects in another. Imagine grabbing a bit of that flawless blue sky and using it to cover up the distracting telephone wire—that’s the magic of the Stamp tool!
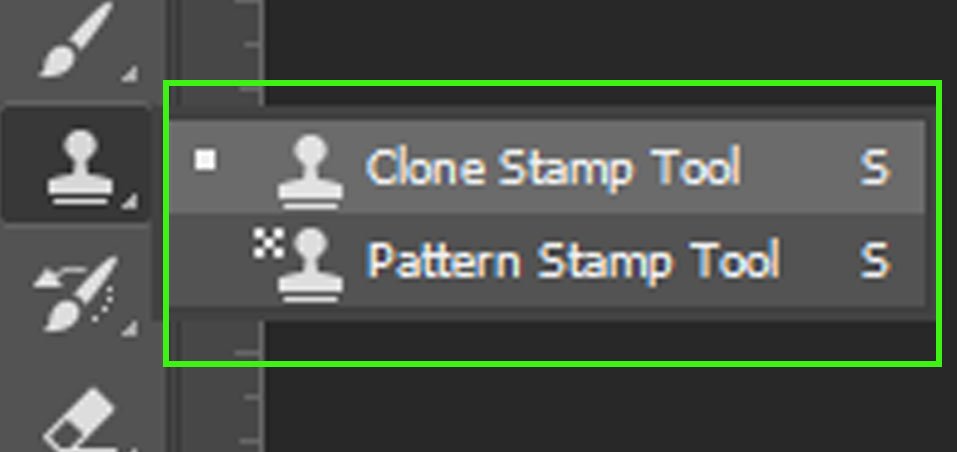
Difference Between the Clone Stamp & Pattern Stamp Tool in Photoshop:
There are actually two flavors of the stamp tool, each with its own superpower:
Clone Stamp Tool: This is your classic eraser buddy. You choose a source point (the area you want to borrow pixels from) and then “stamp” it over the imperfection you want to vanish.
Pattern Stamp Tool: This one’s like a fancy wallpaper tool. Instead of copying a single source point, it uses a whole pattern of pixels to cover up larger areas. Imagine using a brick wall pattern to seamlessly remove a distracting billboard!
Advantages & Disadvantages of the Stamp Tool in Photoshop:
Pros:
Erase the unwanted: Say goodbye to photobombers, dust bunnies, and other imperfections. The stamp tool lets you remove them like a digital eraser.
Unleash your creativity: Feeling artistic? Duplicate interesting elements from your photo and use them to add a unique touch.
Beginner-friendly: Even newbies can grasp the basic functions of the Stamp tool quickly.
Cons:
Practice makes perfect: Achieving flawless, invisible edits takes a bit of practice and a keen eye.
Blending matters: The Stamp tool works best when copying and pasting within areas of similar texture and lighting. A bright blue sky patch might look out of place next to a dark forest!
Conclusion
Mastering the Stamp tool in Photoshop equips you with a powerful tool to elevate your photography. From removing distractions to adding artistic flourishes, this tool is a must-have in any photographer’s arsenal. So next time you encounter a photo imperfection, grab the Stamp tool and unleash your inner photo-fixing wizard!
Frequently Asked Questions
Q: How do I use the stamp tool?
A: It’s easy! Select the Stamp tool (it looks like a rubber stamp), hold down Alt/Option (Mac), and click on the area you want to copy (the source). Then, release Alt/Option and click and drag where you want to paste the copied pixels (the target).
Q: My edits look strange! How can I make them smoother?
A: Experiment with the brush size and opacity of the Stamp tool to match the area you’re copying from. You can also try different sampling modes for better blending.
Q: Can the stamp tool fix everything?
A: Not quite. It struggles with complex patterns or areas with very different lighting. But for most minor imperfections, it’s a fantastic solution.
With a little practice, the Stamp tool will become your go-to tool for creating flawless photos. Happy editing!
Q: Is there a way to make the stamp tool blend in better?
A: Absolutely! Here are some tips:
Adjust the brush opacity: Lowering the opacity can help the copied pixels blend more naturally with the surrounding area.
Sample from different areas: If you’re covering a large imperfection, try sampling pixels from different spots to create a more natural texture variation.
Try the “Diff” sampling mode: This mode considers the difference between the source and target areas, leading to smoother blending in some situations.
Q: What if I accidentally mess up with the stamp tool?
A: No worries! Photoshop has a handy “history panel” that lets you revert to previous versions of your image. You can also use the “undo” function (Ctrl+Z on PC, Command+Z on Mac) to go back a step.
Q: Are there any alternatives to the stamp tool?
A. Yes! Photoshop offers other tools for fixing imperfections.
Healing Brush Tool: This tool analyzes the surrounding area and automatically fills in small imperfections with matching pixels.
Content-Aware Fill: This powerful tool lets you select an area, and Photoshop will intelligently fill it with content that seamlessly blends with the surroundings.
Q: Can I use the stamp tool for more than just removing imperfections?
A. Definitely! Get creative! You can use it to:
Clone objects: Duplicate interesting elements in your photo and reposition them for a more balanced composition.
Extend backgrounds: Need a bit more sky or ground in your photo? Use the stamp tool to seamlessly extend the existing background.
Create artistic effects: Play around with the Stamp tool to create unique textures or patterns in your photos.